Introduction
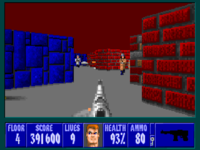
Ray casting is a method used to create a 3D scene on a 2D map. Ray casting was used back in the day when computers didn’t have 3D engines. The most famous example of a game that uses this is Wolfenstein 3D, made in 1992.

In this post, I want to explain how ray casting works. I originally was also going to explain how to implement it, but my motivation disappeared. Mabye later.
Also sorry for the terrible images I’ve drawn. I drew them in MS paint, and that was one of the reasons I stopped working on this post.
I learned most of this from Lode’s Computer Graphics Tutorial. There Lode does a lot more than I wrote here, so please check it out.
In case you want to look at an implementation, I have one on my github here.
How it Works
The Idea
The idea of ray casting is as follows:
You start with a map and the camera location. In our case, the map is a grid where each square is either empty or a wall. To make things simpler, lets say there are walls on the border of the map.
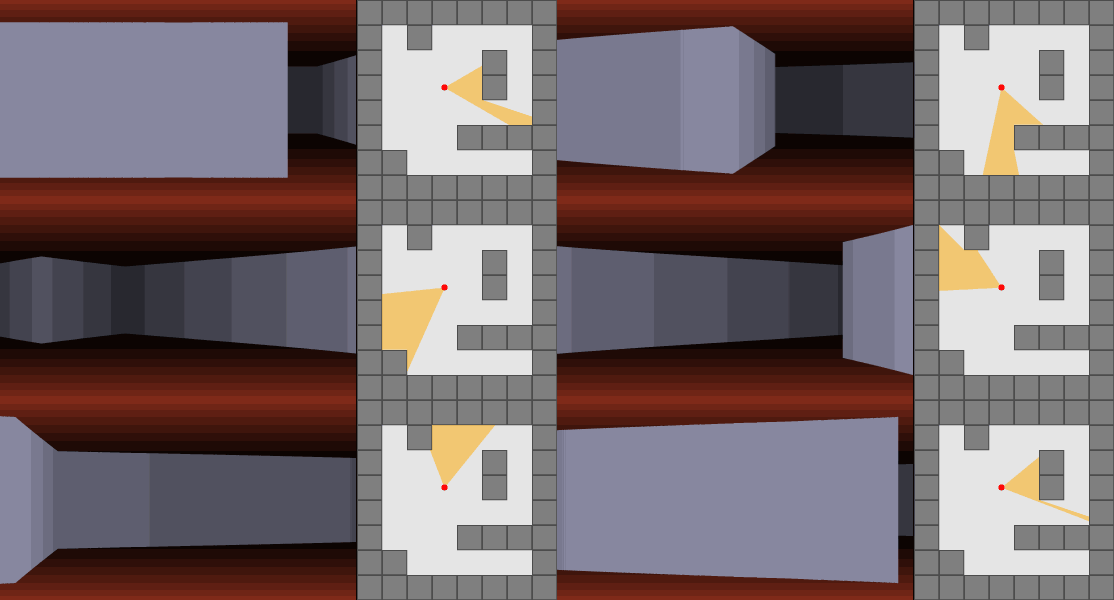
Then for every x coordinate on the screen we shoot out a ray from the camera. Each ray will either hit a wall, or go on forever(in our case the ray will hit a wall). We calculate the distance each ray traveled until it hits a wall, then based on the distance, we draw the wall height. If the distance is far, the wall is low, and visa versa.
The following image shows the process I explained above.

And that is how ray casting works. Pretty straightforward if you think about it. The only thing left is calculating the distance a ray has traveled.
Calculating the Distance
There could be many methods for finding the distance, and in complex situations this wouldn’t be so easy. However, since we are using a grid, we can use a simple way to calculate the distance.
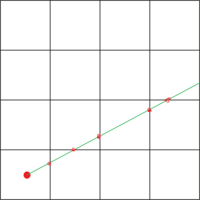
We can find the distance by simply checking every grid line the ray intersects, and checking if that grid line is contained in a wall.

Given the direction or angle of the ray, we can calculate the distance from the camera to the nearest horizontal line of the grid, and the nearest vertical line of the grid(I will call each of these $sideX$ and $sideY$). We can also calculate the distance between the horizontal and vertical grid lines in the rays direction(I will call these distances $deltaX$ and $deltaY$).
Here is an image showing the four values; $sideX$, $sideY$, $deltaX$, and $deltaY$.

The values can be calculated using some simple trigonometry. Here, $camX$ and $camY$ are the x and y coordinates of the camera, and $X$ and $Y$ are the x and y coordinates of the grid the camera is inside. $\theta$ is the angle of the ray, in radians.
\[deltaX = |\frac{1}{cos\theta}|\] \[deltaY = |\frac{1}{sin\theta}|\] \[sideX = |camX - X|deltaX\] \[sideY = |camY - Y|deltaY\]Starting from the shorter one of $sideX$ and $sideY$, we can continuously add $deltaX$ or $deltaY$ to $sideX$ or $sideY$. We switch between adding to $sideX$ and $sideY$ based on what is shorter. Then when we hit a wall, we can stop. In addition we can tell which side we hit(vertical or horizontal) based on whether we added to $sideX$ or $sideY$.
Now that we can calculate the distance, the only thing left to do is to draw a rectangle on the screen based on that distance.
Conclusion
As I have said in the introduction, I was going to write more, but didn’t. Mabye later when my motivation comes back I will return to this post, but I probably won’t.
